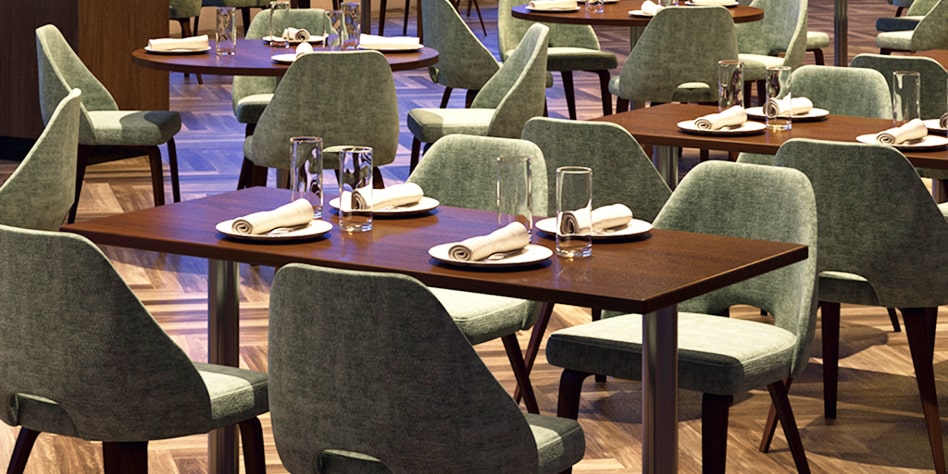
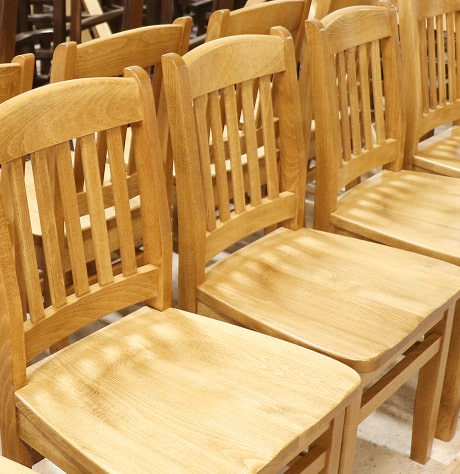
¿Cuál es la mejor manera de saber que estás comprando un producto duradero? sillas de madera¿Que dure años y resista el desgaste diario? Pregunte por el proceso de acabado. Un acabado de calidad puede prolongar la vida útil de los muebles de madera noble.
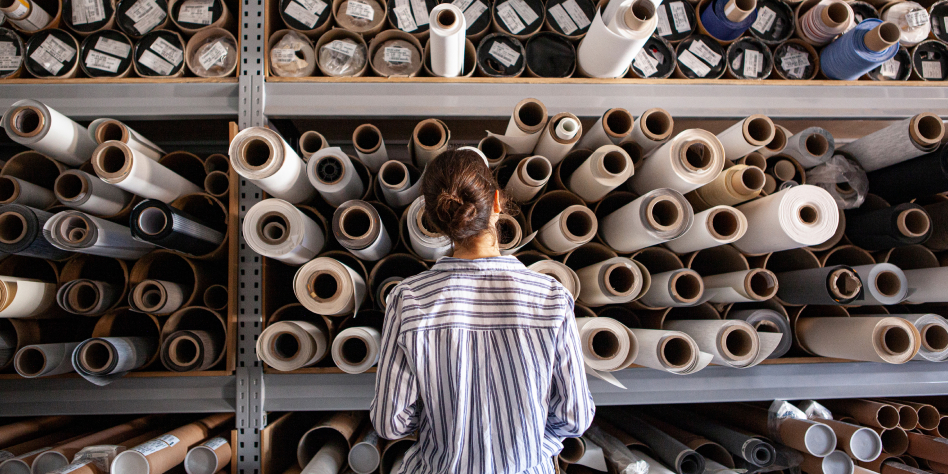
Una de las mejores características de las estructuras de sillas de madera es que se pueden personalizar fácilmente con una amplia variedad de colores. Esto se debe a que la madera tolera muy bien el proceso de teñido.
Desafortunadamente, esto también significa que la madera es propensa a absorber otros elementos menos deseables, como derrames y gérmenes. Los marcos de sillas de madera también son más propensos a presentar abolladuras, muescas y arañazos que otros tipos de marcos, como el aluminio y el acero.
Estos hechos ilustran por qué la calidad del proceso de acabado es tan importante.
Antes de comprar sillas de madera, pregunte sobre este proceso y averigüe qué tipo de laca utiliza el fabricante. Debe ser resistente, como una laca catalizada, para conservar el color y evitar astillas y abolladuras. Una laca resistente también evitará la absorción de gérmenes y derrames, así como los problemas propios de los climas húmedos o secos.
Bolsa de viaje de MityLite Respaldamos nuestras sillas de madera con una garantía de 10 años para la estructura. Nuestro exclusivo proceso de acabado de 9 pasos le ayudará a sentirse seguro con su compra.
Te lo explicaremos aquí.
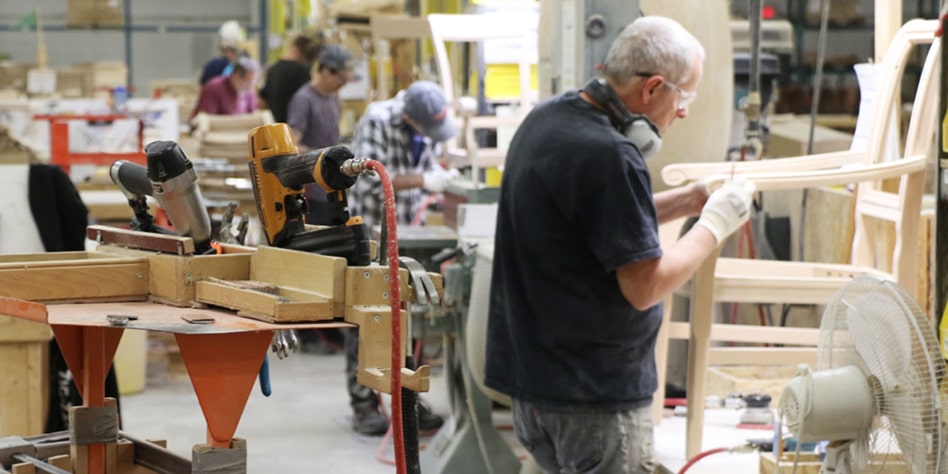
Paso 1: Lijado
El marco está fabricado con madera de haya europea 100%. Posteriormente, se lija con papel de lija de grano 100.
El número de grano de un papel de lija indica el tamaño de las partículas abrasivas. Existen papeles con números desde 24 hasta 2000 o más. Un número mayor indica partículas más pequeñas, que dejan un acabado más fino y pulido. El papel con un número de grano 100 es una buena opción para la preparación final antes del acabado.
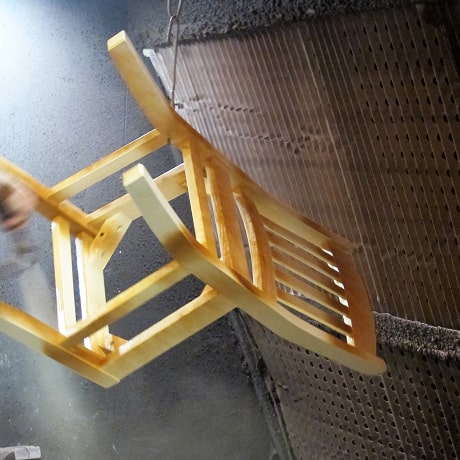
Paso 2: Tinción
La primera capa de tinte se aplica con aerosol sobre todo el marco.
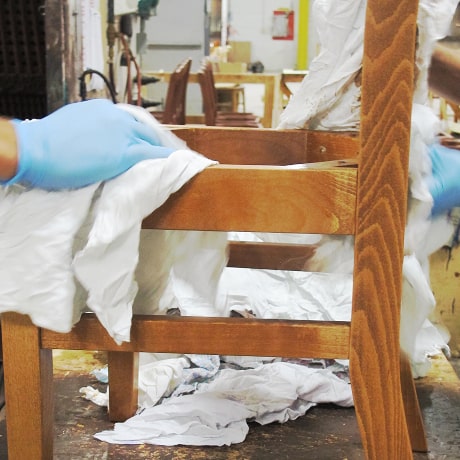
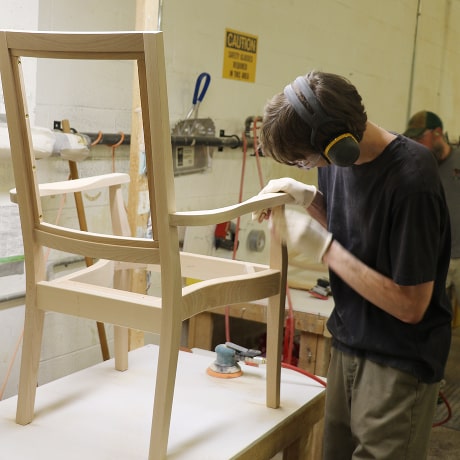
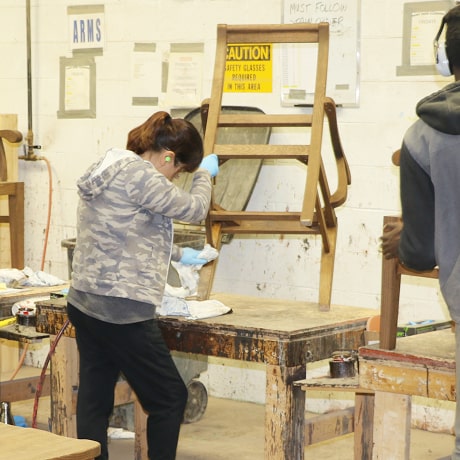
Paso 3: Limpieza de manos
El tinte se aplica a mano sobre el marco para garantizar que el color sea uniforme en toda su superficie, incluyendo grietas, esquinas y juntas. Además, la aplicación a mano garantiza una máxima penetración en la madera.
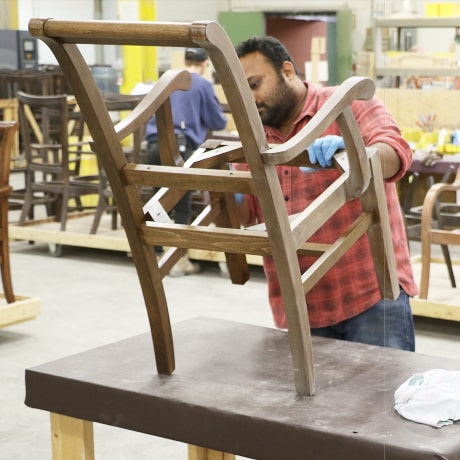
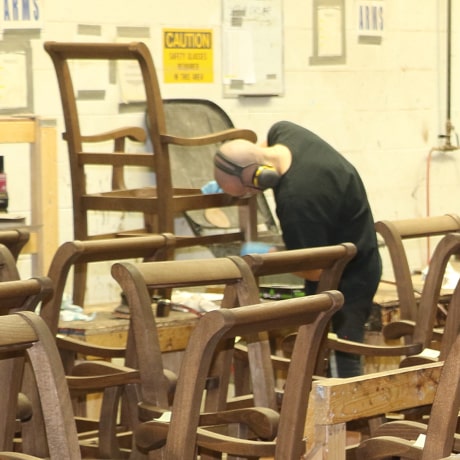
Paso 4: Inspección
Se inspecciona minuciosamente el marco para ver si es necesario realizar algún ajuste en el tinte. En esta etapa se realizan los ajustes necesarios.
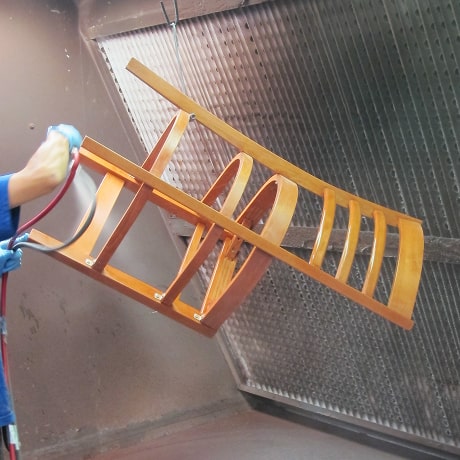
Paso 5: Sellador
Se rocía una capa de sellador catalizado sobre todo el marco para sellar completamente la madera, incluida la parte inferior del asiento.
Paso 6: Más lijado
Una vez secos el tinte y el sellador, se lija el sellador catalizado con papel de lija de grano 280. El papel con números de grano de 180 a 320 es ideal para lijar entre capas de acabado.
Paso 7: Lijado final
El lijado final se realiza utilizando almohadillas Scotch Brite® para eliminar cualquier marca de lijado.
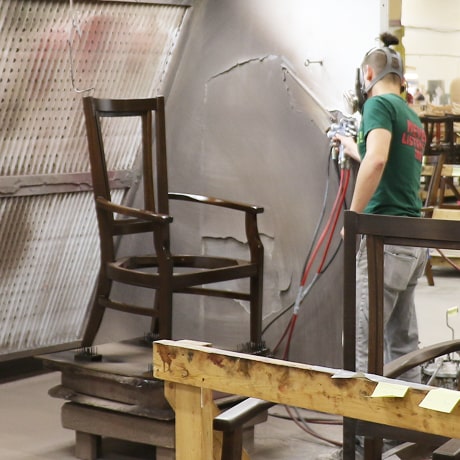
Paso 8: Laca catalizada
Se aplica una capa de laca catalizada sobre el marco mediante pulverización. Este tipo de laca es muy duradera y evita la decoloración, las abolladuras, los desconchones y los arañazos. Además, protege la madera de derrames y gérmenes, así como de factores ambientales como la humedad. Esta laca tiene una fórmula más natural que minimiza el uso de productos químicos.
Paso 9: Garantía de calidad
Antes del embalaje y envío, se realiza una inspección final para garantizar un alto nivel de calidad.

¿Estás interesado en obtener un presupuesto para sillas de madera de Holsag by Mitylite? Contáctenos ¡hoy!